SharePoint is the one of the best solution for sharing and
managing information inside the organization. To Manage different types of User
and Policies and Access rights SharePoint provides three different ways to
manage User authentication. Which validate user Identity against an
authentication provider. Normally we manage user with Active Directory or
Database to control and manage rights and Permissions. Mostly for Public facing
site and LOB which works with external users or users which are not the part of
(AD DS) we use FBA to manage SharePoint Authentication.
In SharePoint 2013 we have two types of Authentication
Claims-based Authentication.
·
Claims-based identities, a user obtains a
digitally signed security token from a commonly trusted identity provider.
Important!
·
Office Web Apps can be used only by SharePoint
2013 web applications that use claims-based authentication.
Classic mode authentication.
Classic mode authentication
uses Windows authentication and SharePoint 2013 treats the user accounts as AD
DS accounts.
There are three types of authentication method are available
in SharePoint2013.
Windows
authentication
The Windows
authentication type use existing Windows authentication provider (AD DS).which
can use for both types of Authentication Classic and Claims-based.
Forms-based
authentication
FBA is a claims-based
identity management system that is based on ASP.NET membership and role
provider authentication. Forms-based authentication can be used against
credentials that are stored in an authentication provider AD Ds, LDAP, SQL
Server database. FBA sent User Passwords as Plaintext for web traffic should
use SSL to encrypt the information’s.
SAML token-based
authentication
SAML token-based authentication in
SharePoint 2013 uses the SAML 1.1 protocol and the WS-Federation Passive
Requestor Profile (WS-F PRP).
Configure Forms-based
authentication in SharePoint 2013.
Create
SQL Server database to Store User Information. Create Users and Roles.
Modified
and configure the Central Administration Web.Config file.
Modified
and configure the Security Token Service Web.Config file.
Create
new Web Application with form base Auth.
Modified
and configure the new web application Web.Config file.
Don’t
forget to take backup of all Web.Config Files before Modifying.
To configure FBA for SharePoint 2013 Site. We have to perform
following steps.
1. Create Sql Server Database by using Asp.net 2.0 utility called aspnet_regsql.exe. By using PowerShell Command.
2. Open Windows Power Shell and Past following Command. It will open one wizard. Complete that with all default values. And Confirm that aspnet database has been created successfully.
3. To confirm database is create successfully in SQL Server. Open SQL SERVER management studio and open the same instance of SQL server which you selected in wizard and check database named aspnetdb has been created.
4.
Now Open Visual Studio and add one Blank web Application to your
solution.
5.
Open web.config file and create Connections with Same Database
that you created in previous step under the configuration Tag.
6. Add membership and Role Manager
Provider under the <system.web> Tag.

7.
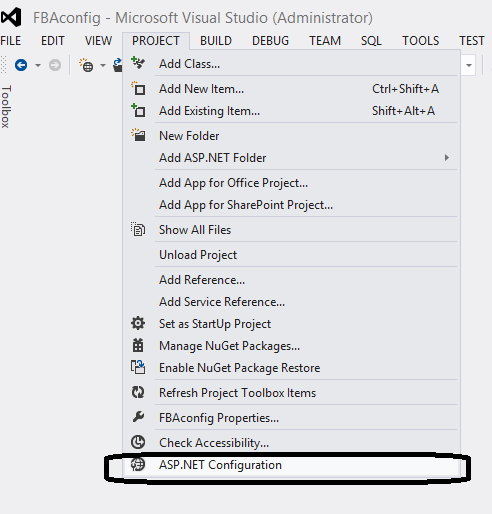
Then Run Asp.net Site Configuration settings from Visual Studio
2013 and Create two user and one Role.
8.
To create users and Roles Click on Security Tab in Asp.net Site
Configuration in Site create role administrator and users.
9.
Now we have to modify the Security Token Service (STS ) in IIS under the
“SharePoint Web Service” web Application. In order to do that open IIS and
locate the Security Token Service and right click and click on explorer and
Open Web.config file in Visual Studio 2012.

10.
Find configuration and past above the tag ConnectionString from Previous Web
asp.net Application.
11. Past RoleManager and membership under the system.web from Previous Web asp.net Application.

12.
Go back to IIS and Open the Central Administration and navigate
Web.config file and open in Visual Studio.
13.
File PeoplePickerWildcards and add one more key for our
MembershipProvider and save.
14.
Then Search membership Override with our configuration from
Previous Web asp.net Application.
15. Then Add ConnectionString in the end of Web.config File.

16.
Create new Web Application from CA. Under Application Management
set check true “Enable Forms Based Authentication (FBA)”, Allow Anonymous True,
Site name : SharePointFBASite(Optional).
17.
Then Define Role and Membership Provider name and save with
basic settings and Save.
18.
Create Root SiteCollection by Using following PowerShell command.

19.
Open IIS and Navigate the new root site web.config
File and open in Visual Studio.

20. Search PeoplePickerWildcards Tag
in Web.Config file and add another key for you membership Provider called “SharePoint2013AspNetMembershipProvider”.
21.
Open FBA Site in Brower and navigate to Site Settings > click
on site Permissions Site Collection Administrators and type that user that you
created in start from .net utility. In my
case this is usama and admin then click on Ok.
22.
Sign-out from site and Re-login by using farm base Auth and use
FBA User name and Password in my case my username is usama.
Note
Always remember that Take backups of all config files before
changing them and make sure that you have administrative and SharePoint should
have access to asp.net membership database.
Reference
http://technet.microsoft.com/en-us/library/ee806890.aspx
http://sharepoint2013fba.codeplex.com/